
How to get Fluent UI controls in Power Apps - the quick & dirty way to make your apps PRETTY

Fluent UI is here. It’s pretty. It’s sharp. It’s clean. If you work within the Microsoft space, you’ll have heard ‘Fluent UI’ mentioned everywhere recently. Let’s start with the basics - what is it? Well if you’ve ever used Google, you’ll be familiar with the very unified user experience and interface across all of their platforms. They use a framework called Material Design. If you’ve ever used Salesforce - they use Lightning Design. And if you’ve ever used any of the Microsoft 365 applications, you’ll be familiar with the unified experience and ‘look and feel’ of all of the apps and services available within the stack. It has been developed using a set of frameworks called Fluent UI (React and Fabric Core), which provides a consistent interface across client devices.
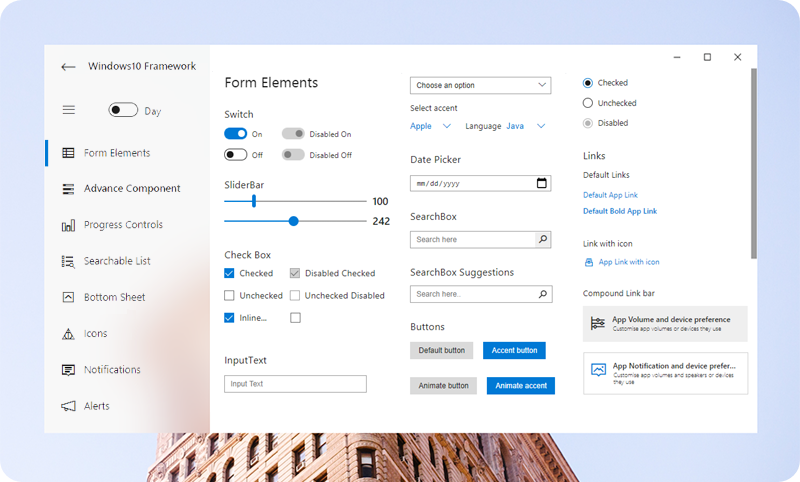
Credits: @virtualvivek - https://github.com/virtualvivek/windows-ui-web
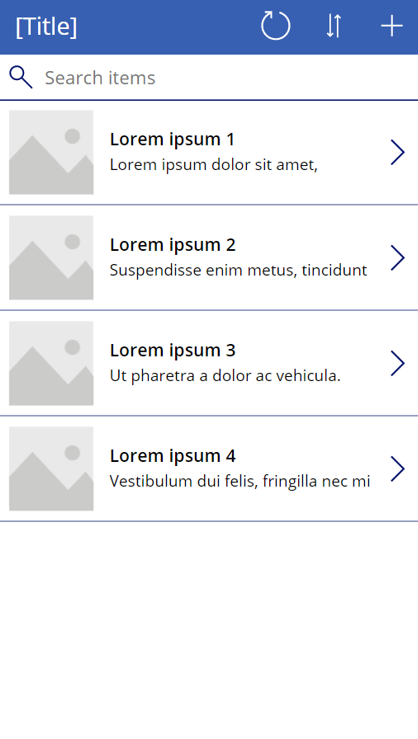
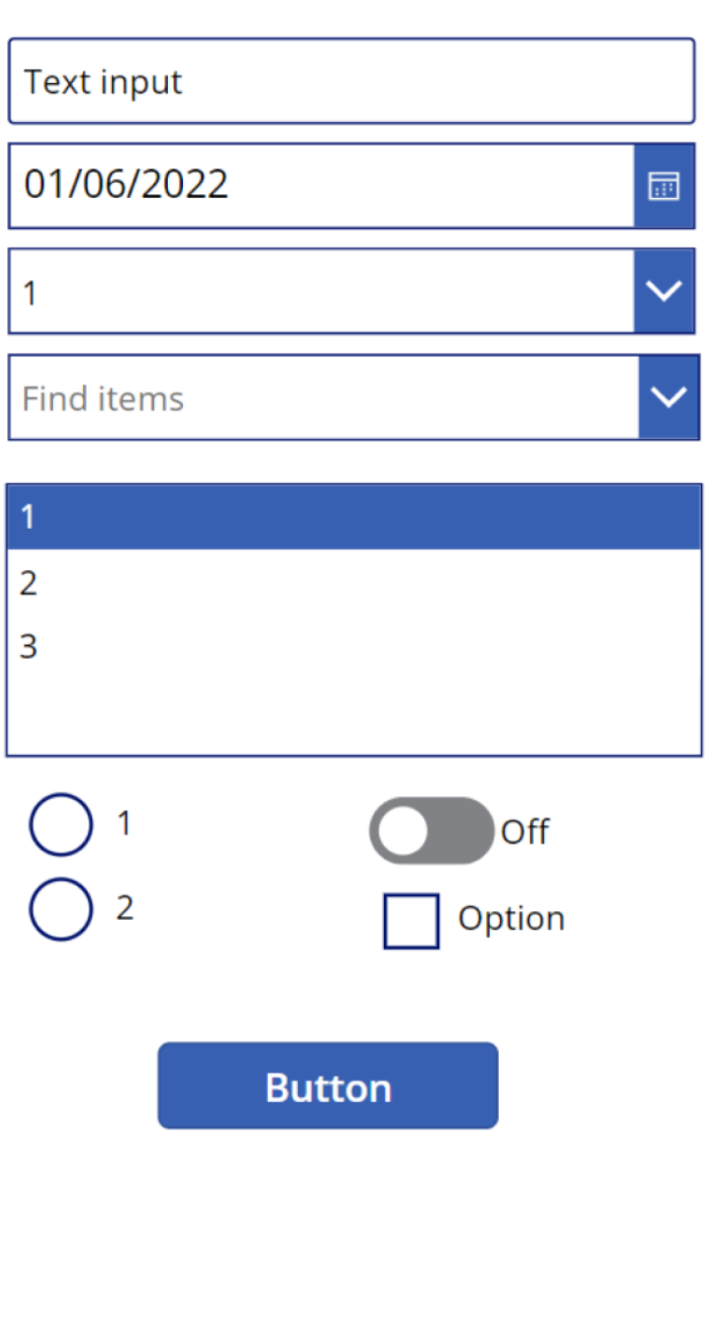
They look familiar, right?! So clean and sharp. But where do you even start, when those controls have been developed using React JS and you’re a low-code/no-code app maker? How could this even be possible if the controls you get out-of-the-box look like this?!
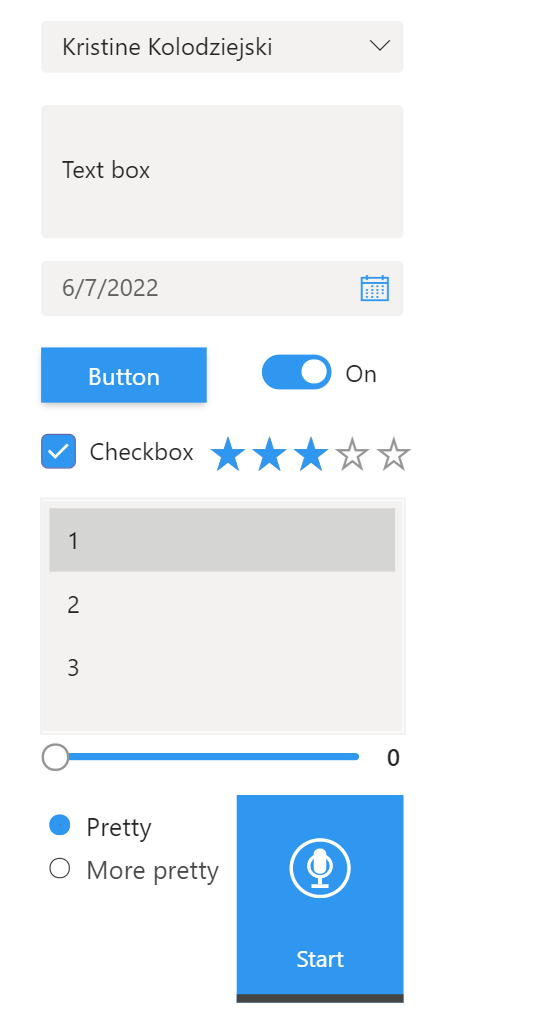
And you want them to look like this?
Well… it’s easier than you’d think. There’s a little-known hack to get those beautiful controls into your maker studio within seconds.
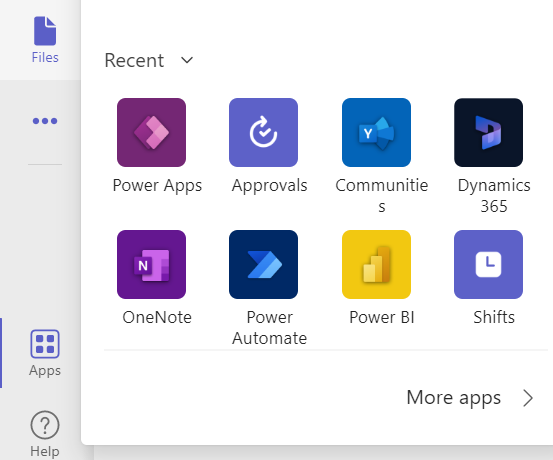
First of all, navigate to your Microsoft Teams client (desktop or web version) and open Power Apps studio.
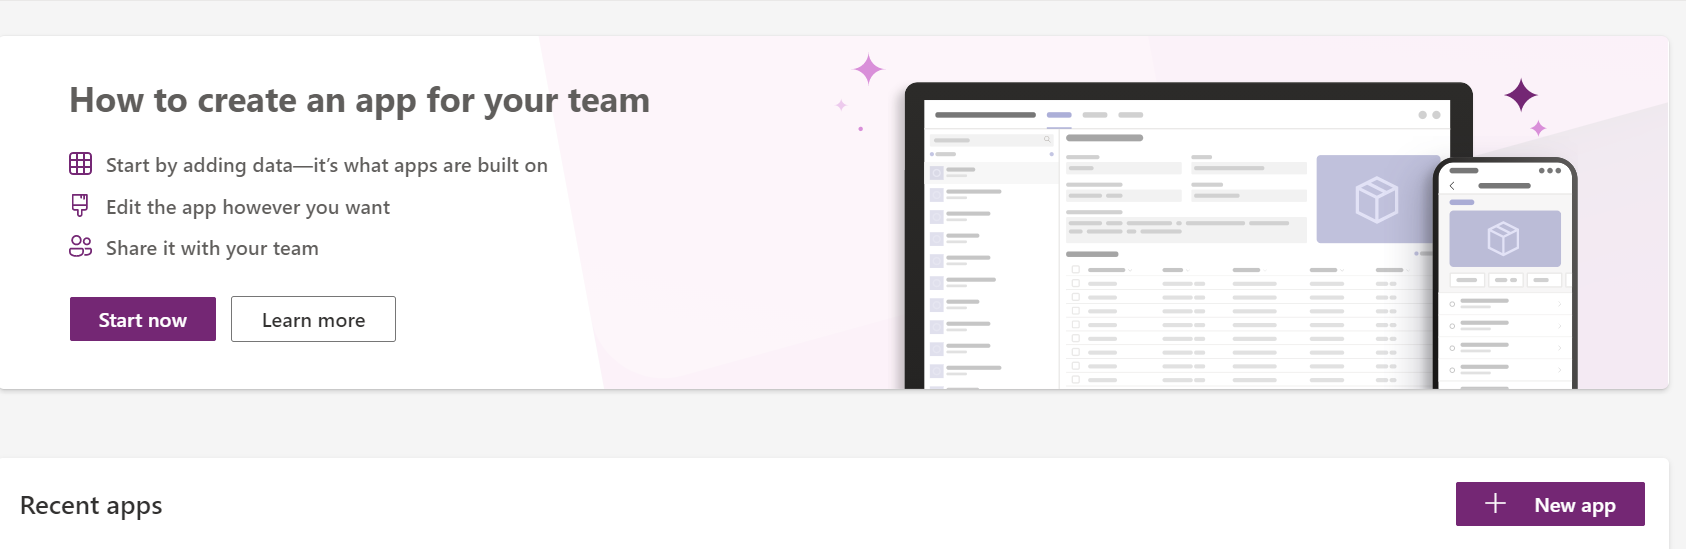
We will then need to create a blank app in Teams. Please click on either ‘Start now’ or ‘New app’, select a Team to add the blank app to, and click ‘Create’.
And here’s the trick you’ve been waiting for… you can just copy them from the Teams app studio and paste them into the full Power Apps studio😨
Simply add a control to the canvas. Select it and press CTRL + C (right clicking and selecting Copy doesn’t work!). Then navigate to your make.powerapps.com app, and press CTRL + V. That’s it!!
Here’s a quick demo of how it works:
Please note there is one limitation with the Radio Buttons - unfortunately at present the radio buttons cannot be resized. I would probably suggest using the out-of-the-box maker portal radio buttons if needed for that reason.
I hope you enjoyed this trick! Please don’t forget to subscribe if you’d like to receive at least once weekly article updates! 😊