
Sending pretty (and responsive) emails using Power Automate

Writing emails is not easy. Even worse so when you have to design the email yourself!
Trying to put together a nice template that you can use for sending emails using Power Automate is tricky. Even more so if you’re not familiar with HTML and CSS. There are plenty of WYSIWYG designers out there, most of them paid for - I’ve tried a couple of them and some of them are OK, some of them very basic, and the good ones are unnecessarily expensive. I initially started this with a responsive template I found on the web, then started customising it, it wasn’t doing what I wanted it to so I’ve re-done the whole thing instead.
So let’s look at how you can save some time and start using this template!
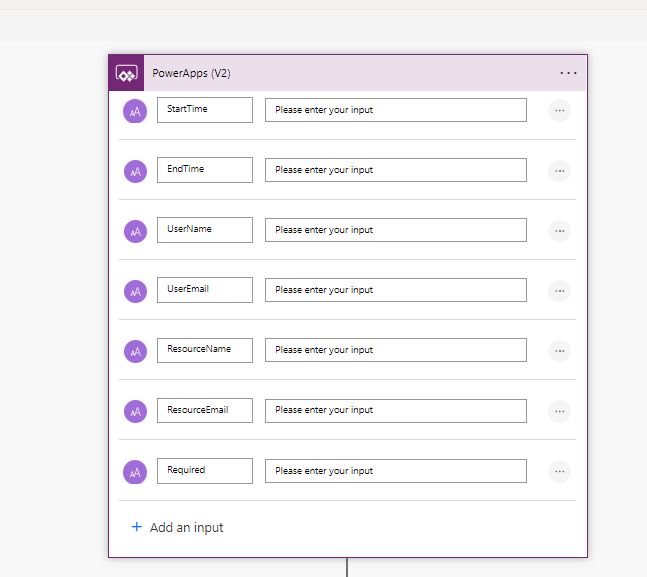
For today’s example, I’m going to use the flow I have built as part of the resource booking solution I’m working on. As it is running in the context of a Power App, our trigger is going to be PowerApps (V2) where I am passing the following parameters. You can have as many or as few parameters as you wish and slot them into your code wherever you see fit.
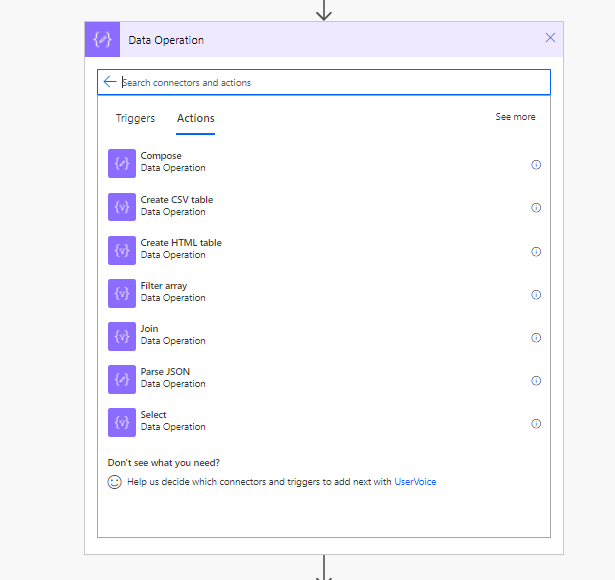
Although you can insert the code directly into the ‘Send an email’ action, I’ve learned the hard way that this is not a good idea. When you add the code directly to the Outlook action, save it and then try to edit it, you’ll be unpleasantly welcomed with a shortened version of your code that has lost all of the formatting. To prevent this, we are going to use a Data Operation action called ‘Compose’. This is where all of our code will reside.
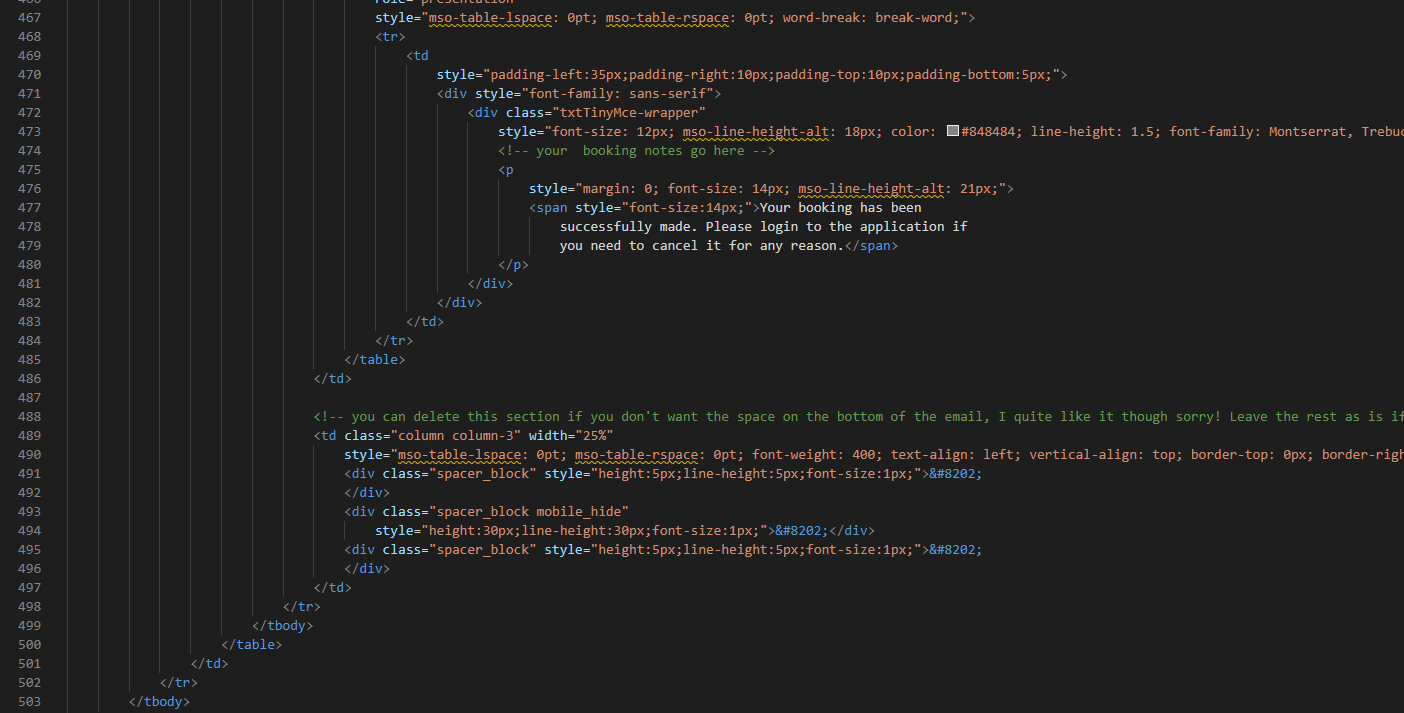
Now that we are here, we are being asked to provide the inputs. This will be our code - the code itself is nearly 500 lines and for ease I have added it to my GitHub repo which you can find here - misskristine94/PrettyEmailPowerAutomate (github.com). I have added some comments to the code to help you find the values and I’d strongly advise you paste it into VS Code to make it more readable.
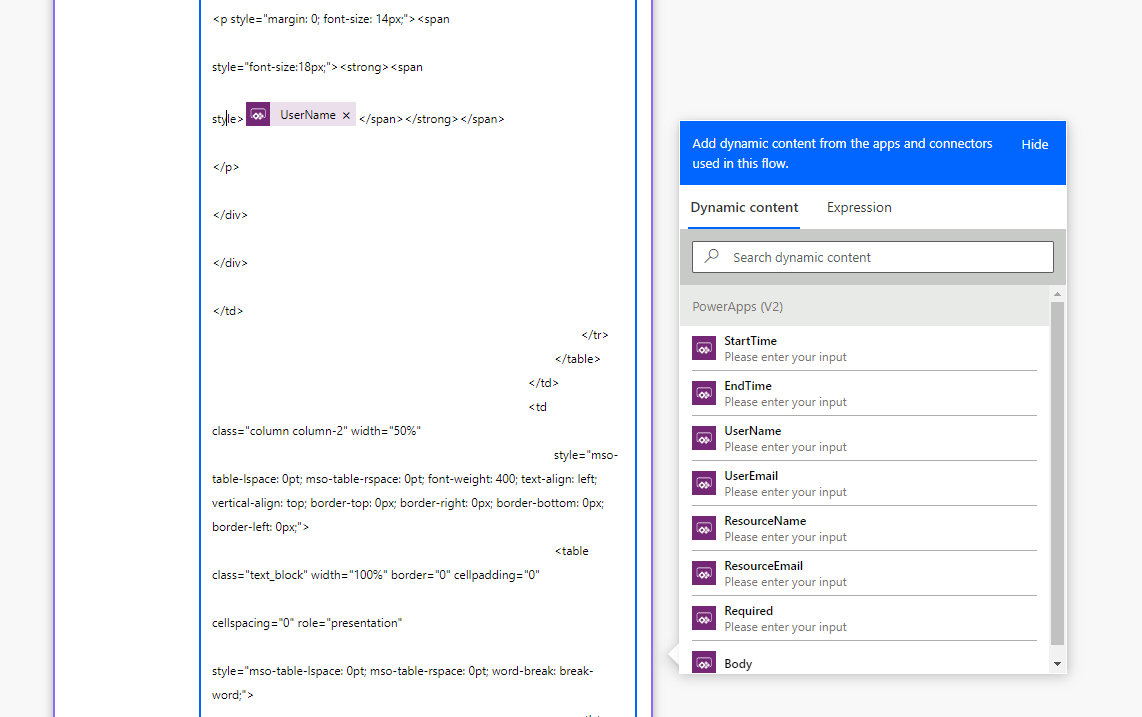
We need to paste this into the Compose action and start adding dynamic values. This is the most time consuming task as you need to find the spaces with my comments that you want to fill with dynamic values. I promise you it’s worth it! The code section is really long and the dynamic values box tends to stay attached in the middle so it’s a good idea to have the dynamic values in your clipboard to save time! If your email is static, then you don’t have to worry about dynamic values - just hard code the text where you see fit (again, I recommend doing this in VS Code for better readability and you can then paste it here).
Now you are ready to put it in an email. All we need to do is use the dynamic values and insert the outputs of the previous step (Compose). Populate the remaining fields of your action as required.
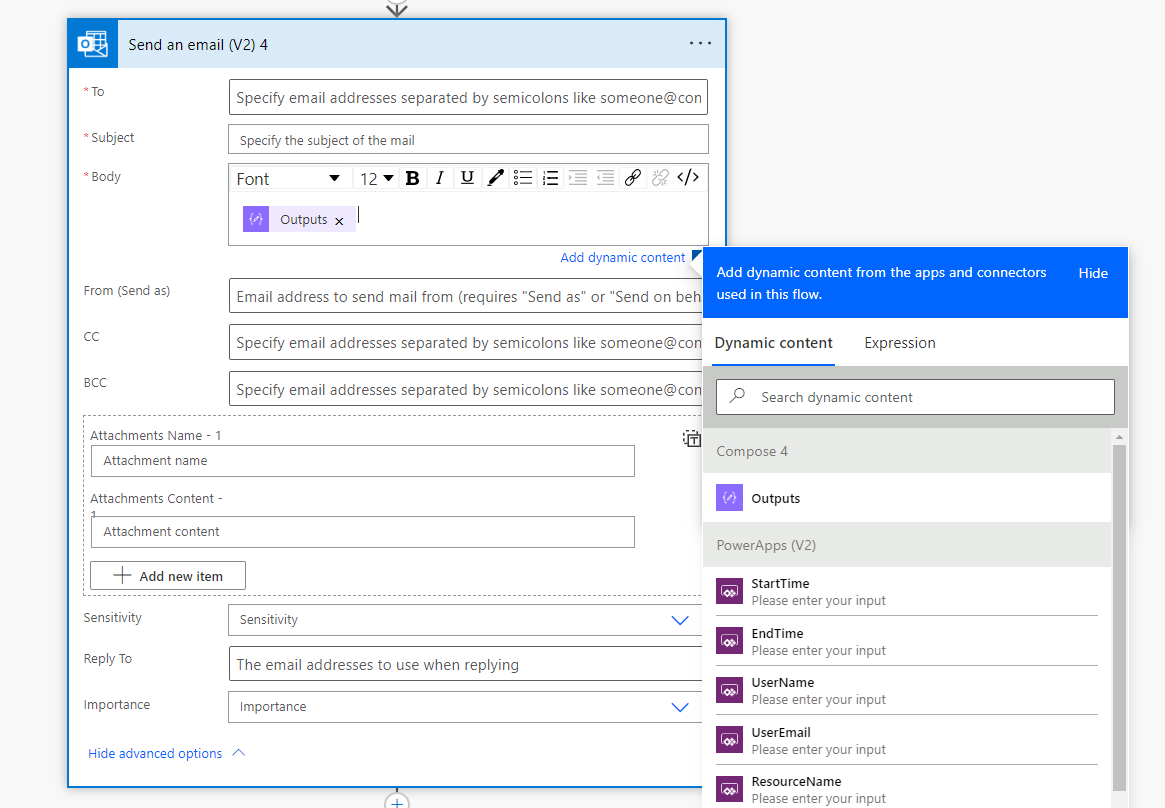
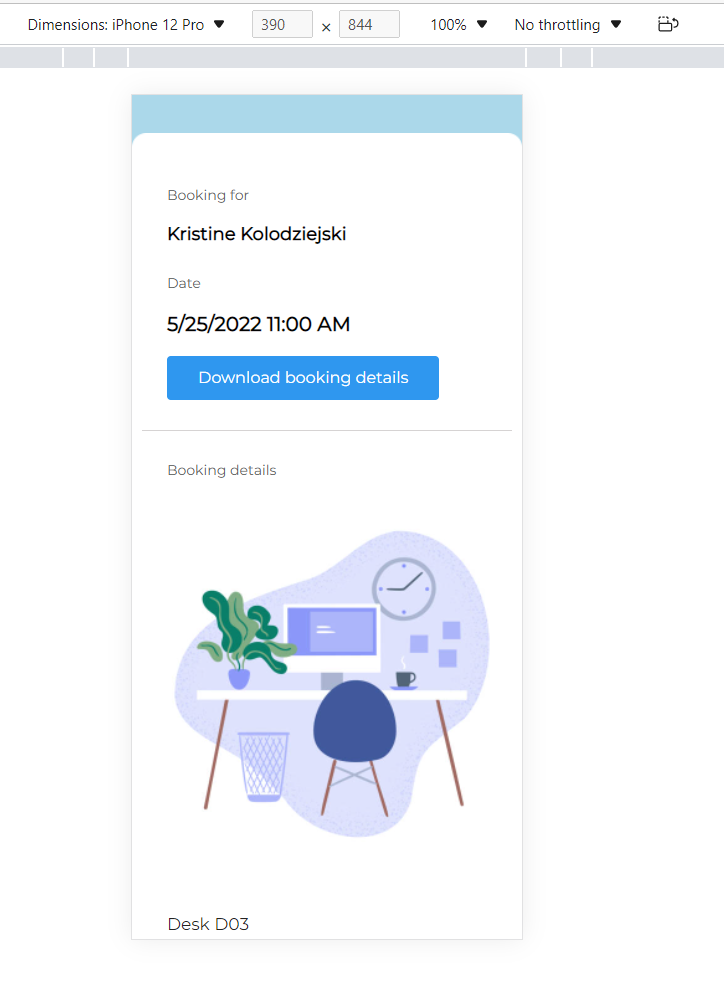
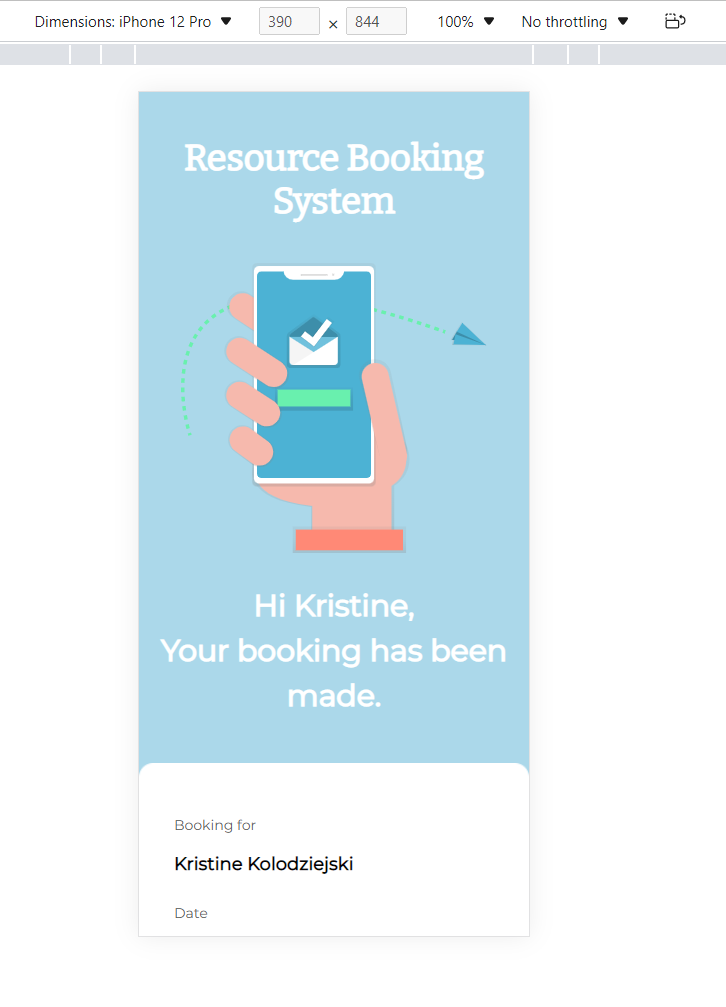
And that’s it! You’ll receive a nicely formatted and fully responsive email on all client devices. Example of what it looks like below.
Desktop version:

Mobile version:
Feel free to customise this template as much as you want. As always, no credits are required, do what you want with it!
Hope you enjoyed my first blog post, please let me know in the comments what you think and make sure you subscribe if you want to receive regular updates on new posts!😊